 |
| [Goldn Chair] |
Remember the chairs of shame?
Not bad huh?
Total cost = $15 The chairs were free off the side of the road. Primer I already had, and I bought about $15 worth of new supplies. Not a bad price for a new old chair! When I get to the other one, it will be 2 for $15 since I already have enough paint!
My process was simple, but it took me a while bc I worked maybe once a week on the chairs when I had sunlight.
First, I sanded the chair down. What a pain in the a$$ that was bc of all the spindly parts at the back of the chair.
Then, I primed it with 2 thin layers of Zinsser Cover Stain Primer
After using this oil-based paint, I learned that it was even more a pain to clean oil-based paint off your brushes and skin than sanding, so I decided to paint with water-based paint for the rest of the project. FYI: You can paint latex/water based over oil based, but you can't do the reverse or else you'll end up with a mess.
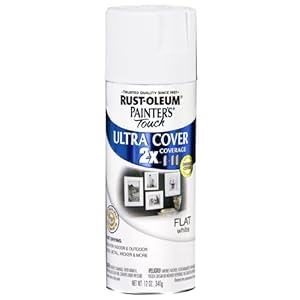
I did a couple layers of Rust-Oleum Ultra Cover Paint . I can't find anything online of the paint, not the spray paint, but it's basically this in old-fashioned paint form.
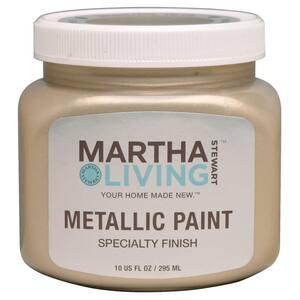
At the same time, I painted the bottom part with Martha Stewart Metallic Paint from Home Depot. There was a variety of shades of gold, but I liked "Golden Pearl" the best bc it was light/soft. For the gold I had to do 3-4 layers bc the paint was relatively thin.
I still have to do a little bit of touch up to do and I may add a layer of Wipe-On Poly
 |
| [A close-up of what "light/soft" gold looks like, haha] |


No comments:
Post a Comment